
 Multilingual
 Visit website
 Updated: 2026-09-23 17:31
 Access: Normal
 Profile views 0
  Outbound visits 0
 Website Review
What is Pacdora?
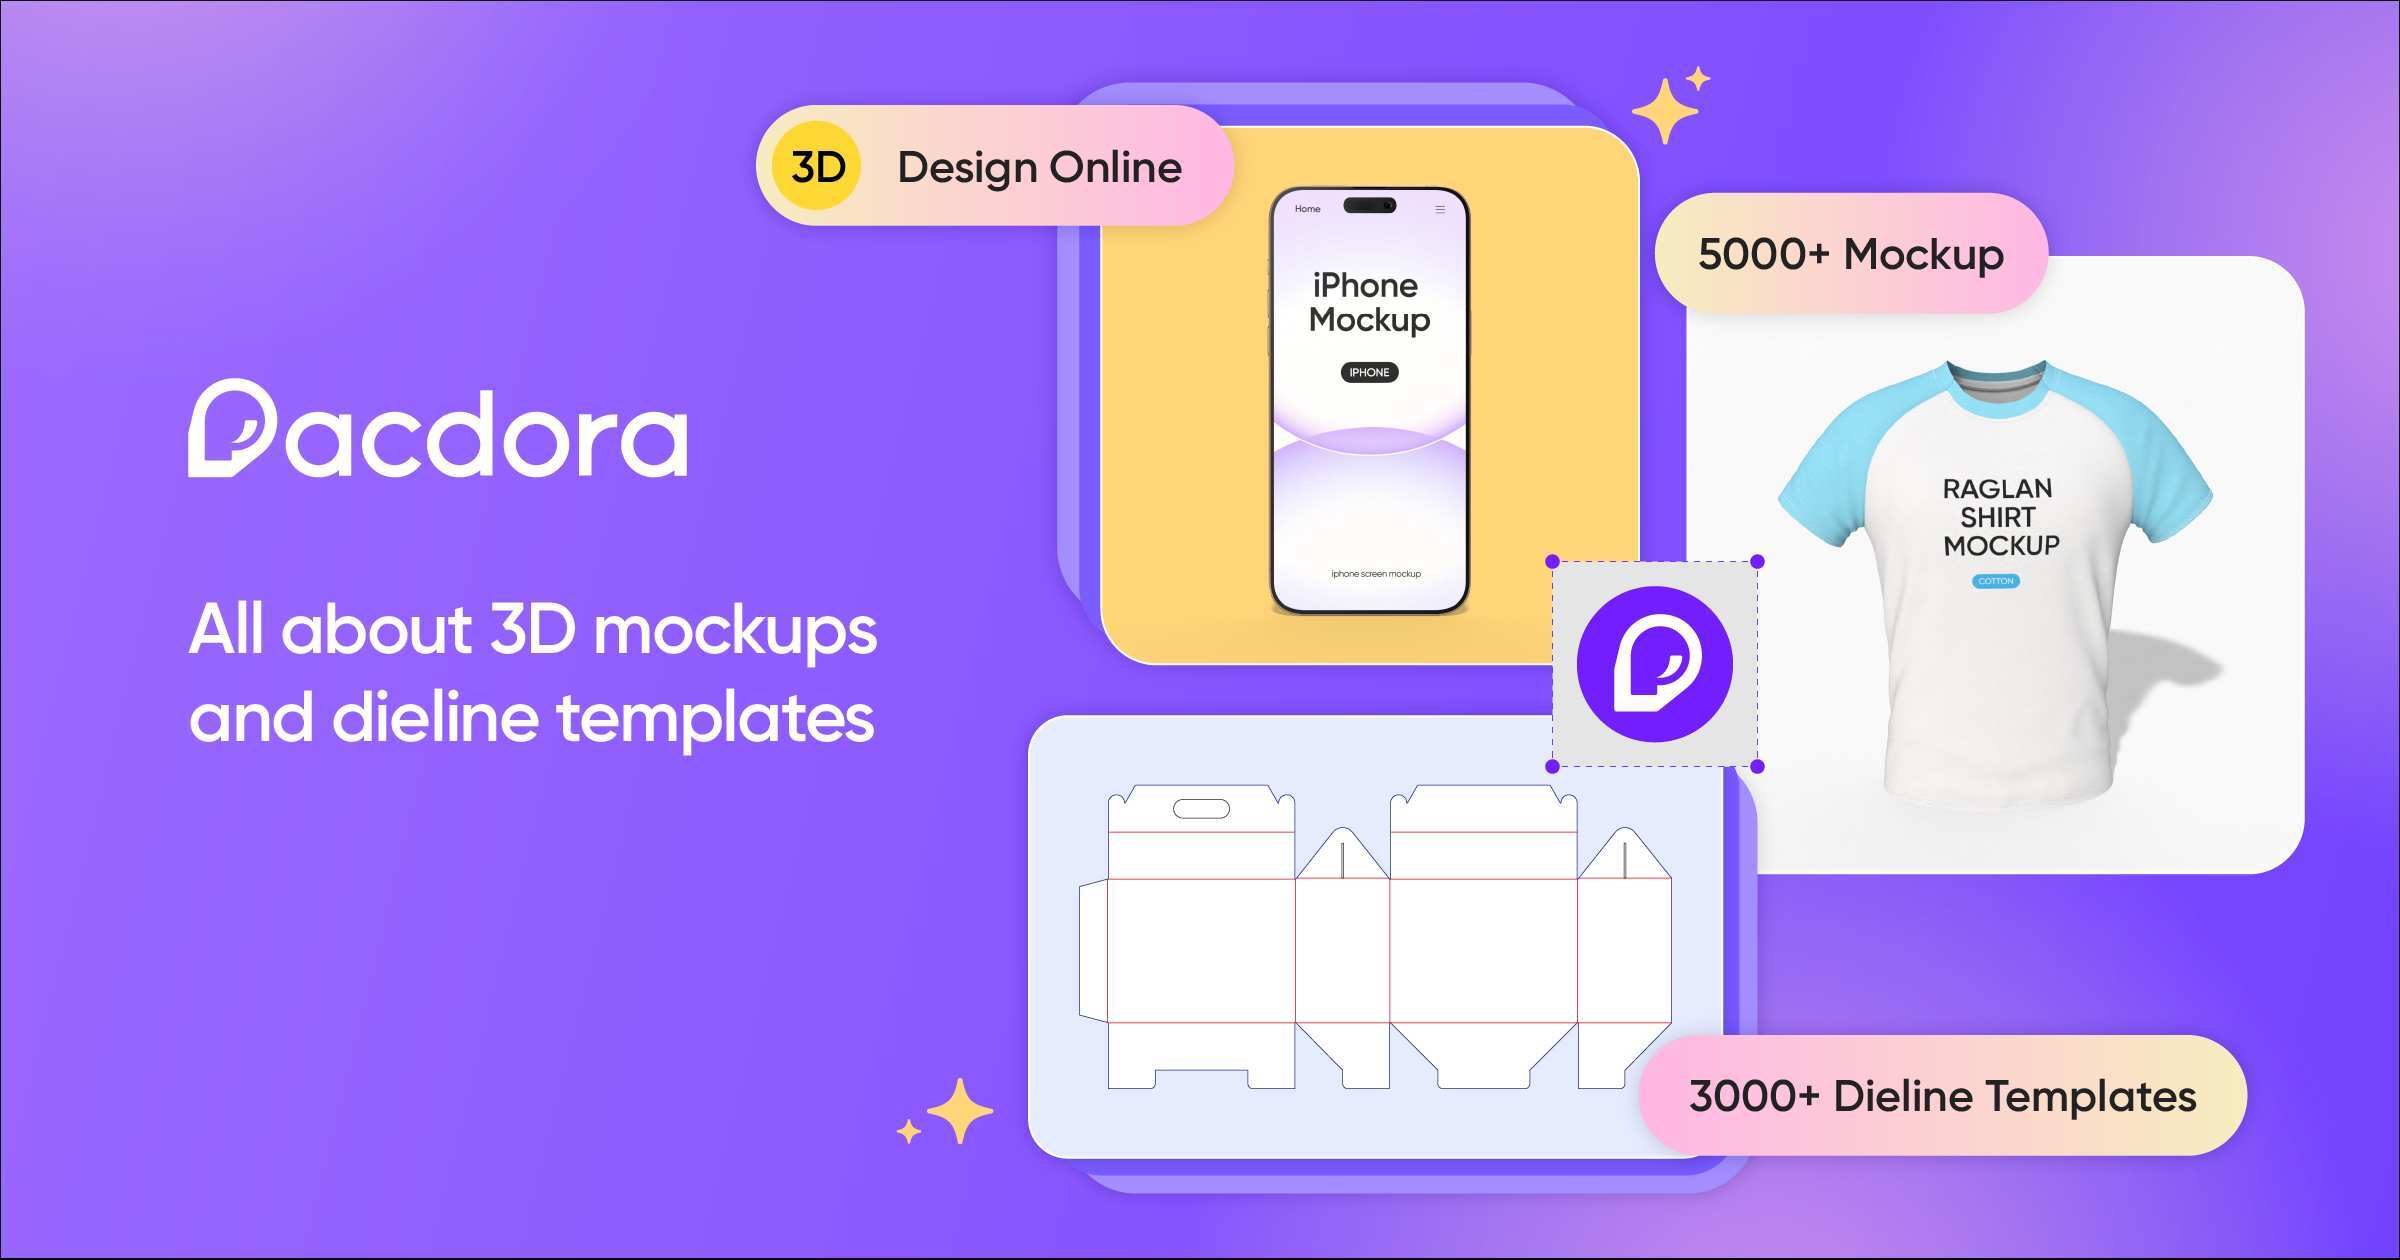
Pacdora is an online platform for packaging and product design, built around three core jobs: generating realistic mockups, producing print-ready dielines, and creating 3D scenes to present a product. It's aimed at people who need to show or manufacture packaging without running a full studio setup — small brands, freelance designers, print shops, and e-commerce sellers preparing listings.
What you can actually do with it
- Mockup generator: Upload artwork and see it applied to a 3D preview of a box, bottle, can, pouch, tube, cup, book, T-shirt, or device. Useful for client approvals and product pages before anything is printed.
- Dieline template maker: Start from a template, adjust dimensions, material, and paper thickness, and export a print-ready dieline. This is the production-facing side of the tool, not just a visual.
- 3D modeling: Combine preset scenes, elements, and lighting to place a product in something resembling a studio shot, without prior 3D experience.
- AI tools: An AI background generator is part of the toolkit, alongside AI-assisted packaging design.
The template library is the main draw
The page lists thousands of mockups and dieline templates, with the deepest categories in bottles, boxes, cans, pouches, and food packaging. Dieline templates cover folding cartons, tuck-end boxes, rigid boxes, trays, display boxes, paper bags, and envelopes.
| If your task is… | The relevant part of Pacdora is… |
|---|---|
| Showing a client a label on a bottle | Bottle or water bottle mockups |
| Sending a carton to a printer | Folding box or tuck-end dieline templates |
| Building an e-commerce listing image | Mockup generator plus 3D scene |
| Designing a subscription mailer | Mailer box mockups and dielines |
Trade-off to keep in mind
Templates speed up standard formats but constrain unusual structures. If your packaging is genuinely custom, expect to use the dieline maker for dimensions and then verify the result with your printer rather than trusting the export blindly.
A practical first step: pick the closest dieline template to your real package, enter your true dimensions and material, and only then move to mockups for presentation. That order keeps the visual honest about what will actually be produced.
How do I create a custom packaging mockup with my own design?
Upload your artwork to Pacdora's mockup generator, pick a packaging format (box, pouch, bottle, can, etc.), and the tool maps your design onto a 3D preview so you can adjust angles and lighting before exporting. For a physical box, you would instead start from a dieline template, set dimensions, material and paper thickness, then place your artwork on the flattened layout.
A practical workflow
- Decide what you actually need: a marketing image (mockup) or a print-ready cut-and-fold file (dieline). They are different outputs.
- For a visual: choose a mockup category, upload your design, and check how it wraps around folds, caps and curved surfaces. Text near a crease or a bottle's shoulder is where designs usually break.
- For production: open a dieline template, enter your dimensions and material, then position artwork inside the safe area, keeping clear of fold and glue zones.
- Export and sanity-check at 100% zoom rather than trusting the 3D preview alone.
Choosing between the two paths
| Goal | Use | Watch out for |
|---|---|---|
| Client pitch, e-commerce listing, social post | Mockup generator | Perspective can flatter a weak layout; verify flat artwork separately |
| Sending files to a printer or die-cutter | Dieline template maker | Dimensions, bleed and material choice must match your printer's requirements |
| Lifestyle or studio-style scene | 3D modeling with scenes and lighting | Scene realism doesn't guarantee colour accuracy |
Who this suits
Small brands and independent sellers who need presentable packaging visuals without a photography studio, and designers who want a starting dieline rather than drawing one from scratch. It is less suited to anyone needing certified colour management or a converter's proprietary die specifications.
Next step: before uploading final artwork, ask your printer for their dieline and bleed requirements. If they already supply one, use theirs; a generic template is a starting point, not a substitute. Pacdora's own library and tools are described at Pacdora.
What are dieline templates and how do I use them for print-ready packaging?
A dieline template is the flat, print-ready blueprint of a package before it is folded and glued. It shows the cut lines (where the shape is trimmed), fold or crease lines (where the board bends), glue flaps, and bleed and safety margins. If you print your artwork onto a correct dieline, the finished box, bag, or tray lines up when assembled; if the dieline is wrong, artwork drifts across seams, flaps overlap, or the structure will not close.
Pacdora treats dielines as a core product category rather than a side feature: its page lists folding box, tuck-end, paper bag, box-with-lid, display box, tray, rigid box, and envelope templates, alongside a dieline template maker that lets you adjust dimensions, materials, and paper thickness. That combination is the practical part — you start from a known structure, then resize it to your product instead of drawing creases from scratch.
How to use one, step by step
- Choose the structure that matches how the package must open and ship (tuck-end for lightweight retail cartons, rigid or lid-and-base for premium sets, trays and display boxes for shelf presence).
- Enter your internal dimensions — the size of the product plus any insert or clearance, not the outside of the box.
- Set material and thickness. This matters more than beginners expect: a thicker board needs a wider allowance at folds and corners, so a dieline tuned for thin card can fail on corrugated stock.
- Download the dieline as a vector file and place it on its own locked layer in your design software.
- Put your artwork on a layer above it, keeping text and logos inside the safety margin and extending background color past the cut line into the bleed.
- Hide the dieline layer before exporting, or set it to a non-printing spot color if your printer wants the cut and crease lines included.
- Export a print-ready PDF at the resolution and color mode your printer requests, then ask for a physical proof — a one-off cut-and-fold sample catches errors that a screen preview never will.
What to check before sending to print
- Fold lines are creases, not cuts; if they are drawn as cuts, the box falls apart.
- Glue flaps have enough surface area for your board weight.
- The artwork extends into the bleed on every edge, including flaps.
- Dieline dimensions are in the same units as your artwork file.
- Any 3D preview you generate is for visualization only — it does not replace a printer's proof.
A useful decision rule: if your packaging is a standard shape, start from a template and only adjust dimensions; if the product is irregular or needs a custom insert, expect to build or commission a bespoke dieline. For a quick visual check before committing to print, Pacdora's mockup generator and 3D modeling tools let you see a design on a structure first, which is a cheap way to catch obvious layout mistakes. Compare that against a dedicated structural design tool if you need precise production tolerances, and against a packaging printer's own template library if your printer supplies one — printers often prefer their existing dielines because they already match their cutting equipment.
Can I use Pacdora's 3D modeling software without prior design experience?
Yes. Pacdora's own description states that its 3D modeling software requires no design experience: you choose from ready-made scenes, templates and elements, then combine and adjust product angles, lighting and similar settings to produce a studio-style product image. The same low-barrier approach runs through its other tools — the mockup generator works by uploading a design and viewing it in a 3D preview, and the dieline maker walks you through dimensions, material and paper thickness before producing a print-ready template.
That said, "no experience needed" is not the same as "no decisions needed." What actually determines your result:
- Template fit. A box mockup and a pouch mockup behave differently; picking a shape close to your real packaging saves most of the fiddling.
- Asset quality. Your uploaded artwork is the ceiling. A flat, low-resolution label will look flat in 3D no matter how good the lighting preset is.
- Realism vs. speed. Preset scenes are fast and consistent; manual angle and lighting adjustments take longer but suit hero images where the product must match a brand's photography style.
- Output purpose. A quick client pitch tolerates a generic scene. A print-ready dieline does not — dimensions and material choices have to be correct before export.
A practical first test: pick one real product, run it through a mockup preview and a dieline template, and compare the two outputs against what your printer or client actually needs. If the dieline matches your box dimensions and the mockup reads clearly at thumbnail size, the toolset is doing its job for you.
For a broader look at template libraries and packaging design platforms, Canva covers general design templates and Placeit focuses on mockups, though neither is a like-for-like dieline tool.
How does the AI packaging design feature work to generate backgrounds and designs?
Pacdora's AI packaging design feature is best understood as an assistant inside a broader packaging workflow, not a single button that produces a finished product. Based on the page evidence, AI is described as "built in" alongside four tools: a mockup generator, a dieline template maker, 3D modeling software, and an AI background generator. The AI's clearest stated role is background generation — producing scene backdrops for product visuals — while design generation happens through editable templates rather than one-shot automation.
H3 How the pieces fit together
The typical flow implied by the page is:
- Pick a starting point — a dieline template (folding box, tuck end, paper bag, tray, rigid box, and similar categories) or an existing mockup.
- Apply or upload your artwork. The mockup generator is described as "just upload your design and instantly see it in a 3D preview."
- Adjust the physical parameters. The dieline maker lets you customize dimensions, materials, and paper thickness, and the page says it returns a print-ready dieline.
- Set the scene. The 3D modeling tool offers scenes, templates, and elements where you adjust angles and lighting; the AI background generator replaces or creates the backdrop so you don't need a studio shoot.
- Export for review or print.
H3 What the AI actually does, and what it doesn't
| Task | Handled by AI per the page | Handled by you or templates |
|---|---|---|
| Backgrounds and scene settings | Yes — AI background generator | Final color and lighting tweaks |
| Structural packaging shape | No | Dieline templates and dimension inputs |
| Artwork and branding | No | Your uploaded design or template edits |
| 3D preview | Rendered by the mockup and 3D tools | Angle, lighting, and scene selection |
H3 A concrete scenario
A small coffee roaster needs pouch and box renders for an online store but has no photographer. They pick a pouch mockup, upload their label artwork, generate a background that matches their brand palette, and adjust the angle for a shelf-style shot. The same dieline can then be sent to a printer. This is where the tool chain pays off: one file serves both marketing and production.
H3 Trade-offs to weigh
- Speed versus control. AI backgrounds are fast, but a generated scene may not match a precise brand guideline, so budget time for manual adjustment.
- Template dependence. Your structure options are limited to the dieline categories available, so unusual custom shapes may still require a dedicated structural designer.
- Mockup realism versus print accuracy. A convincing render is not proof that the dieline folds correctly — always confirm the print-ready dieline before ordering.
Next step: start with one product, run it through the full chain from dieline to AI background to 3D preview, and compare the render against a physical sample before scaling up. For reference on packaging formats and print preparation, see iStock for stock imagery conventions and Adobe for design file standards.
Which mockup or dieline template should I choose for a specific product like a box, bottle, or pouch?
Match the template to the physical package you are actually producing, then to how you'll use the image. The product shape decides the dieline category; the marketing channel decides the mockup style.
Quick matching guide
| Your product | Dieline starting point | Mockup style to pick |
|---|---|---|
| Folding carton (retail shelf box) | Tuck End or Folding Box template | Box mockup, single or grouped on a shelf scene |
| Rigid gift or subscription box | Rigid Box or Box with Lid template | Gift Box mockup, often with lid open |
| Mail-order shipping box | Mailer Box template | Mailer Box mockup, plain or printed exterior |
| Stand-up pouch, coffee or snacks | Paper Bag / Pouch template | Pouch or Bag mockup, front-facing |
| Bottle, cosmetic or beverage | Bottle template (shape-specific) | Bottle mockup; water bottle mockups for slim profiles |
| Tube, cream or paste | Tube template | Tube mockup, cap-on |
| Can, drink or supplement | Can template | Can mockup, single can plus multipack |
Pacdora's library is organised around exactly these categories, with the largest counts under box, bottle, pouch/bag and can mockups, plus folding, tuck end, lid, tray, rigid and display box dielines.
How to decide in practice
- Start from the dieline, not the picture. If the template's dimensions and folding structure don't match what your printer will cut and crease, the mockup will look right while the print file is wrong. Use the dieline maker to set dimensions, material and paper thickness before exporting.
- Then choose a mockup by context of use. A plain studio box mockup suits a product page; a scene with props and lighting suits social or campaign imagery. Pacdora's 3D tool lets you adjust angle, lighting and scene without new photography.
- Check the count before committing. Categories with hundreds or thousands of options (box, bottle, pouch) give more room to find a close shape match; thin categories like hoodie or magazine mockups are better for apparel and print promotion than for packaging.
A concrete scenario
You are launching a 250 g coffee bag. Choose a pouch or bag dieline, confirm the gusset and top-seal dimensions with your supplier, then render a front-facing pouch mockup for the product page and a second angled version for ads. If you later add a gift set, reuse the same artwork on a rigid box or box-with-lid dieline so the range looks consistent.
Trade-offs to weigh
- Generic shape vs. exact shape: a near-match bottle or box mockup is fast but may misrepresent proportions; a custom-dimension dieline is slower but print-accurate.
- Photoreal scene vs. clean template: scenes sell a lifestyle, clean mockups communicate label legibility. Most launches need both.
- Breadth vs. depth: Pacdora covers many categories, so a niche or unusual container may not have an exact match; check the dieline maker for a custom build in that case.
Next step: open Pacdora at Pacdora, pick your dieline category first, set dimensions and material, then apply the mockup style that matches where the image will appear.
 Hosting and Email
 Amazon Route 53
 Hosting
 Google Workspace
 Location
 United States
 Pages, Search and Sharing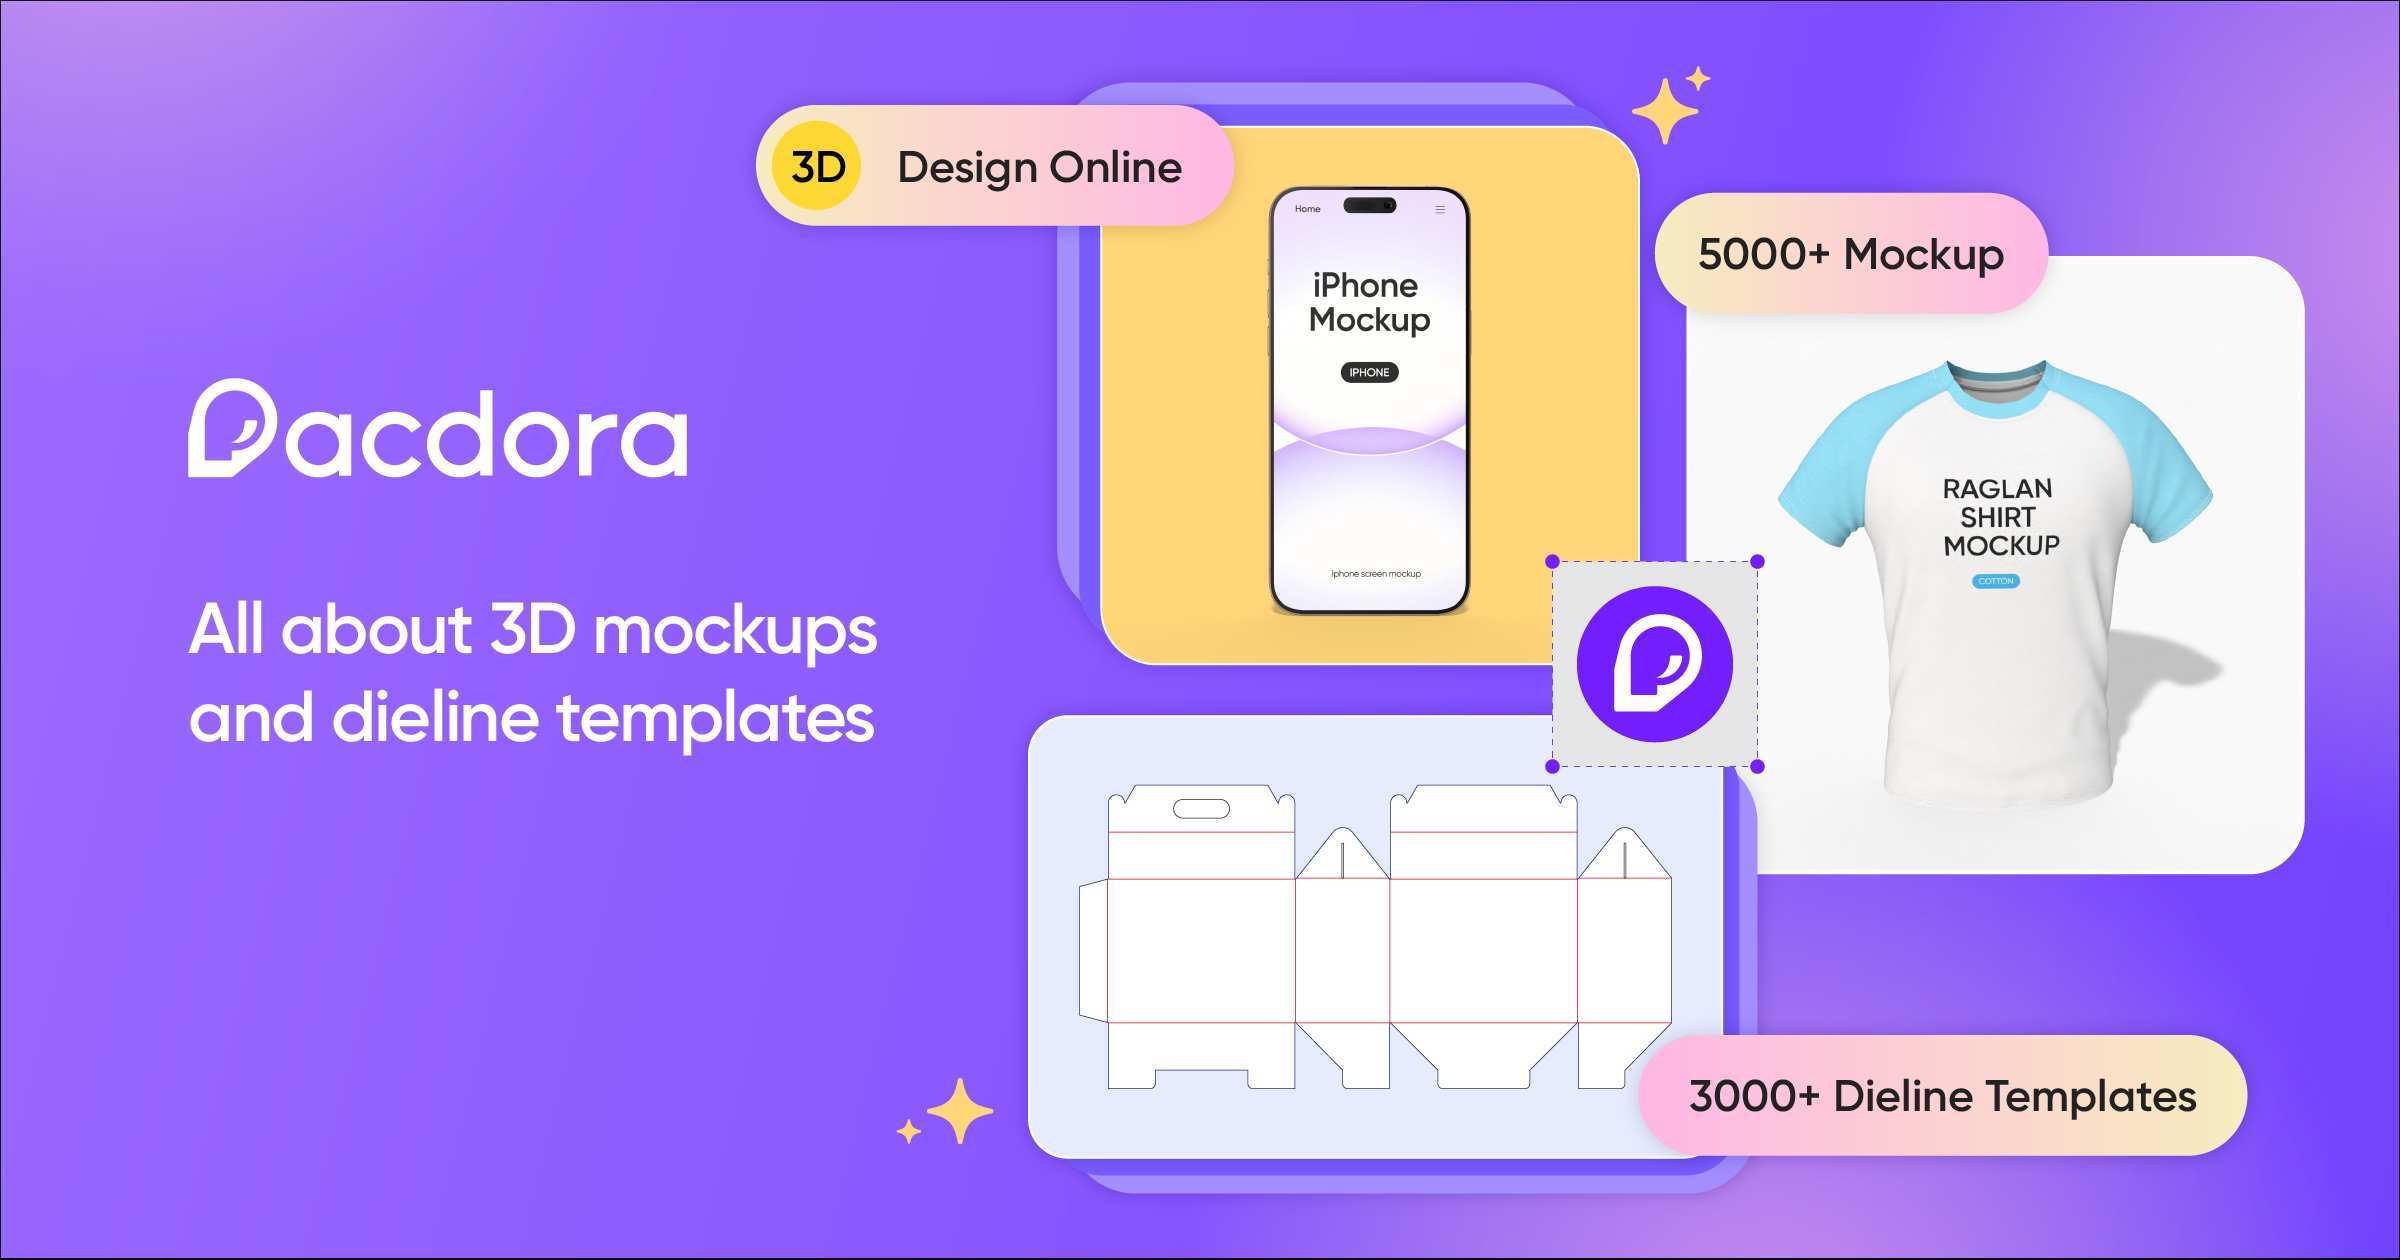



 baiduspider

 Registration details

 Identified technologies
User reviews (0)