
 Multilingual
 Visit website
 Updated: 2026-10-01 22:10
 Access: Normal
 Profile views 7
  Outbound visits 0
 Website Review
What is Compress Images Online (No Upload)?
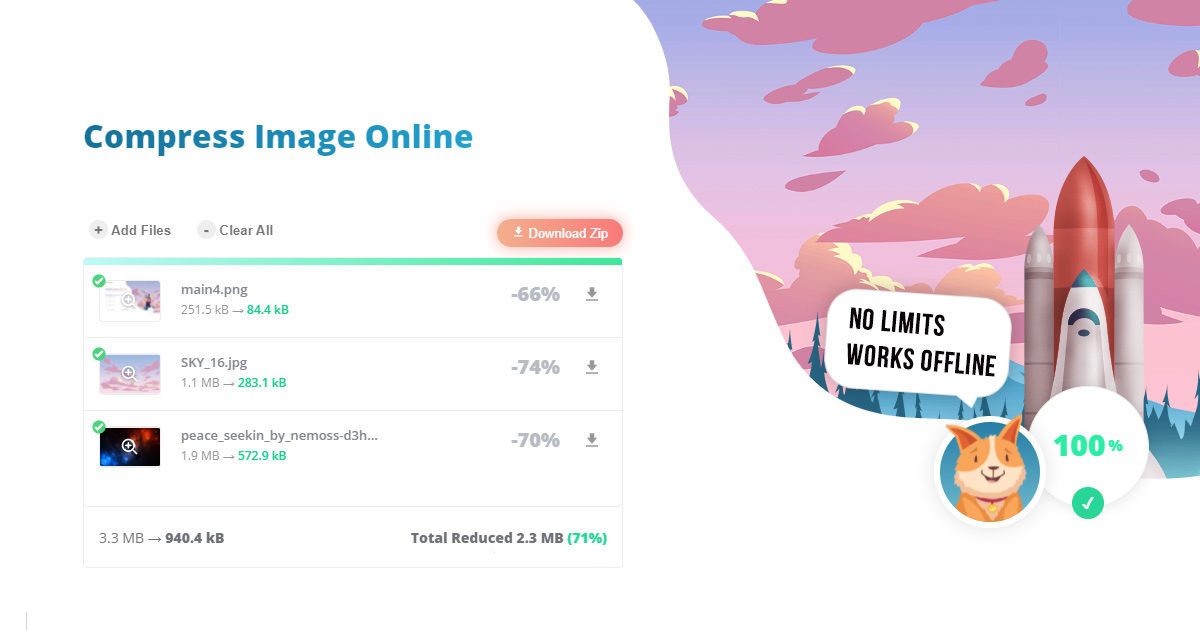
Compress Images Online (No Upload) is a browser-based image compressor hosted at compressimage.io. Its defining feature is that compression runs entirely inside your browser: your files are not sent to a server, so the site can process unlimited images and file sizes without uploading anything. It handles JPEG, PNG, GIF, WebP and SVG, and lets you adjust quality, resize, convert to WebP and strip metadata before downloading individual files or a ZIP.
Who it suits
- Privacy-sensitive users — people compressing ID scans, medical images, client photos or internal documents who would rather not hand files to a third-party server.
- Bulk and large-file work — since processing is local, there is no upload queue or per-file cap, which helps when you have hundreds of images or a few very large ones.
- Occasional users — no account or install is described, so it works as a quick one-off tool.
Trade-offs to weigh
- Your device does the work. Compression speed and stability depend on your browser and hardware, so a phone or older laptop may slow down on large batches, whereas server-based tools offload that effort.
- Lossy quality is irreversible. The page notes that lossy compression differences are usually hard to see, but once saved, the discarded detail is gone — keep originals for anything you may need to re-edit or print.
- A local tool is not a long-term archive. Browser-based processing is convenient, but for repeatable, scripted pipelines a desktop utility or command-line tool may fit better.
A practical next step
If you are preparing images for a website or email, start with a moderate quality setting and convert photos to WebP, then compare the result at 100% zoom against the original. If the difference is invisible at the size your audience will view it, keep the smaller file; if it looks soft, raise quality or leave that image as lossless.
For related options, you can also look at Squoosh or TinyPNG, though note that those typically upload files to their servers, which is the opposite of this tool's approach.
How does the browser-based compression keep my images private?
Your images stay private because the compression runs inside your browser: the page states that files are never uploaded to a server, so no copy is transmitted to CompressImage.io or a third party. The tool reads each file locally, applies the compression settings you choose, and hands back a new file for download.
What that means in practice
- Nothing is queued on a remote machine, so there is no server-side copy to delete, leak or retain.
- Because the work happens on your device, the page says there are no limits on how many images or how large they can be.
- You still control the output: quality, maximum width/height, file suffix, WebP conversion, metadata stripping and ID removal are all settings in the interface.
Where the privacy boundary actually sits
Browser-based does not mean risk-free. The files stay on your machine, but the page itself is still delivered over the web, and anything you later upload elsewhere is a separate decision. If you are handling client material, medical images or unpublished design work, the local processing removes the main worry — an intermediary holding your files — but your own device, browser extensions and download folder remain part of the chain.
A concrete scenario
A photographer sorting a wedding shoot can drop several hundred JPEGs into the tool, compress them at a chosen quality, and download a ZIP without sending a single frame to a stranger's server. Compare that with a cloud compressor, where the trade-off is usually convenience and batch features in exchange for uploading originals.
Next step
If your priority is confidentiality, use this kind of local tool for the first pass, then verify one output at 100% zoom before sending it on. If you need collaboration, version history or automatic syncing, a cloud service may fit better — just check its retention policy first. For related local-first utilities, see Squoosh and ImageOptim.
What image formats can I compress, and can I convert them to WebP?
CompressImage.io handles the common web formats: JPEG (JPG), PNG, GIF, SVG, and WebP. You can also convert to WebP as part of the same pass, using the "Convert to WebP" option in the settings panel.
What each format is good for
| Format | Typical use | Trade-off to know |
|---|---|---|
| JPEG | Photos, blog headers, email attachments | Small files, but no transparency; repeated re-saving degrades quality |
| PNG | Screenshots, logos, images needing transparency | Sharper edges, but much larger than JPEG for photos |
| GIF | Simple animations, legacy graphics | Limited colors; often bulky compared to modern alternatives |
| SVG | Icons, logos, vector illustrations | Scales cleanly, but only works for vector artwork, not photos |
| WebP | Modern web images, both photos and graphics | Good size savings and supports transparency, but very old browsers or some desktop apps may not open it |
Converting to WebP
WebP is usually the best target if your images are going on a website. It tends to produce smaller files than JPEG or PNG at similar visual quality and supports transparency. The catch is compatibility: if you need to send images to someone using older software, or upload them to a platform that only accepts JPG or PNG, keep the original format instead.
A practical next step
Start with one representative image rather than your whole library. Set quality around 70%, leave the max width or height blank unless you specifically want to downscale, and enable "Convert to WebP." Compare the before-and-after size and zoom in on detailed areas like text or faces. If it looks fine, apply the same settings to the rest and download everything as a single ZIP.
Because the compression runs in your browser, your files are not uploaded anywhere. That matters if you are working with client material, personal photos, or anything under a confidentiality agreement. The trade-off is that very large batches depend on your own device's memory and speed rather than a server farm. For a quick second opinion on format choices, MDN Web Docs covers image format trade-offs in plain language.
How do I adjust quality, resize, or strip metadata before downloading?
On CompressImage.io, quality, resizing and metadata removal are all handled in the Settings panel before you download. The page's own workflow describes adding images first, then adjusting "quality, resize, or convert to WebP in Settings if you need to." Compression starts as soon as files are added, so treat the settings as a refinement step and re-check the preview or file size before saving.
The controls you'll find
- Image Quality — the page shows a quality slider with a default of 70%. Lower values shrink files more aggressively; higher values preserve more detail.
- Max Width or Height (px) — caps the longest dimension, which is the usual way to resize for web or email. Leaving it empty keeps the original dimensions.
- File Suffix — appends a label to output filenames so compressed versions don't overwrite your originals.
- Convert to WebP — switches the output format, typically giving smaller files than JPEG or PNG at similar visual quality.
- Remove IDs / Strip Metadata — removes embedded information such as camera and location data along with other metadata.
- Multipass Precision — a fine-tuning option for the compression pass; leave it at its default unless you're chasing a specific size target.
- Recompress — applies your settings again to already-compressed files.
A practical sequence
- Drop in your images and let the first pass finish.
- Set Image Quality to roughly 70–80% for photos, or higher if the image contains text, fine lines or flat colour.
- Set Max Width or Height only if you know the target display size — for example, 1600 px for a blog header, 800 px for an email attachment.
- Tick Strip Metadata when the photo will be published publicly and you don't want location or device details carried along.
- Add a File Suffix so the compressed copies sit alongside the originals.
- Download individually, or use the ZIP download for a batch.
Choosing your trade-off
| Goal | Setting direction | Watch for |
|---|---|---|
| Smallest file for web | Lower quality, convert to WebP, cap dimensions | Soft edges, banding in gradients |
| Print or archive | High quality, no resizing | Little size reduction |
| Privacy-conscious sharing | Strip metadata | Losing useful copyright or caption data |
| Batch of mixed images | Moderate quality, no resize | Some files may need individual attention |
Because the compression runs in the browser with no upload and no stated file-size limits, you can test settings freely on a single image before committing to a whole folder. If you want a second opinion on output quality, compare against a dedicated desktop tool such as ImageMagick or a browser-based alternative like Squoosh — both let you inspect the compressed result side by side with the original.
Is there a limit on file size or number of images I can compress?
No. According to the site, CompressImage.io imposes no file size limits and no cap on how many images you can process. The tool's own explanation is that compression runs entirely in your browser, so there is no server-side upload quota to hit.
What that means in practice
- You can drag in a single large photo or a whole folder of images without being stopped by a size ceiling.
- You can download each compressed file individually, or grab everything at once as a single ZIP.
- Settings let you adjust quality, set a maximum width or height, and convert to WebP if you want smaller output.
The practical trade-off
"Unlimited" here is a browser-side claim, not a promise about your device. Because the work happens on your machine, very large batches or very high-resolution files are limited by your available memory and CPU, not by the website. If you throw hundreds of large images at once into an older phone or a low-RAM laptop, expect slowdowns or a stalled tab rather than a rejection message. Splitting a huge batch into groups of a few dozen is a sensible habit.
A quick decision guide
| Situation | Sensible approach |
|---|---|
| A handful of photos for email or a form | Compress all at once, download as ZIP |
| Hundreds of high-res images | Process in smaller batches to avoid browser strain |
| Privacy-sensitive documents or client photos | Browser-only processing is the main advantage here |
| Need a guaranteed target size | Adjust quality and max dimensions, then check the preview |
Next step
If you are preparing images for a specific destination, check that destination's size rules first, then set quality and maximum dimensions accordingly rather than guessing. For a second opinion on how much compression is safe before quality visibly drops, you can compare tools such as Squoosh or TinyPNG, both of which also run compression in or near the browser and let you inspect the result before committing.
How does client-side compression reduce my carbon footprint compared to server-based tools?
Client-side compression cuts the energy spent on your image by removing the data center from the loop. When a tool compresses in your browser, the file stays on your device; there is no upload, no server CPU/GPU work, no storage write, and no download back. Server-based tools add all of those steps, plus the networking equipment and cooling that keep them running.
Compress Images Online (No Upload) states this as a core claim on its page: compression happens in the browser, images are never sent to a server, and the site frames the result as a “low carbon footprint” because no extra server electricity is used. Treat that as the product’s stated design rationale rather than an audited measurement.
Where the energy actually goes
| Stage | Client-side (browser) | Server-based |
|---|---|---|
| Upload | None | File travels over network to a data center |
| Processing | Your device’s CPU does the work | Server CPU/GPU does the work |
| Storage | File stays in memory/local disk | Temporary or persistent server storage |
| Download | None | Compressed file travels back to you |
| Overhead | Browser tab already open | Networking gear, cooling, redundancy, idle capacity |
The biggest practical difference is usually the network round trip, not the compression math itself. A 4 MB photo uploaded and downloaded again may move 8 MB across the internet; keeping it local moves zero. For a single image that is trivial, but for a batch of hundreds it adds up, especially on mobile networks or metered connections.
What this means for a real workflow
If you are a photographer culling a shoot, a marketer resizing a batch of product shots, or someone on a slow connection, client-side tools avoid the wait and the transfer entirely. The trade-off: your device does the work, so a very large batch on an older phone or laptop will be slower and will use your battery. Server-based tools can be faster on weak hardware because someone else’s machine does the heavy lifting.
A useful decision rule: if the files are private, large, or numerous, prefer client-side. If your device is underpowered and the files are small and non-sensitive, a server tool may be more convenient.
A concrete next step
Open the tool in your browser, drop in a few images, and compare the output size before and after. The page shows a settings panel with quality, max width/height, WebP conversion, and metadata stripping, so you can tune the trade-off between file size and visible quality. For a quick test, compress one image at 70% quality and check whether you can see a difference on your screen.
 Hosting and Email
 Cloudflare
 Hosting
 Location
 Pages, Search and Sharing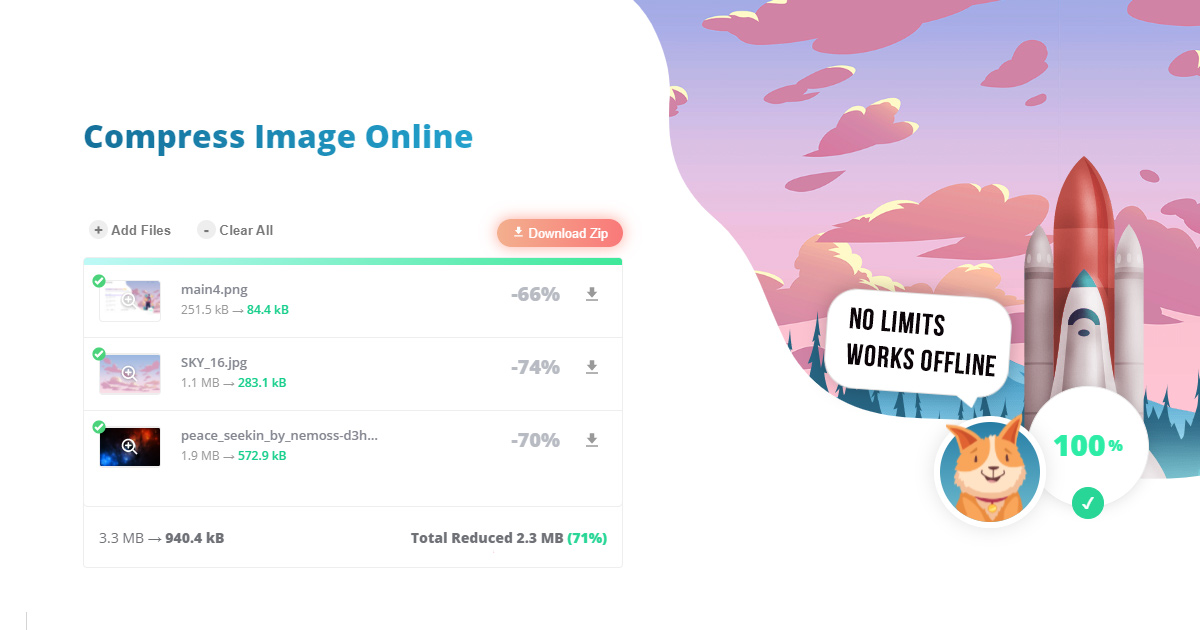



 All bots

 Registration details

 Identified technologies
User reviews (0)